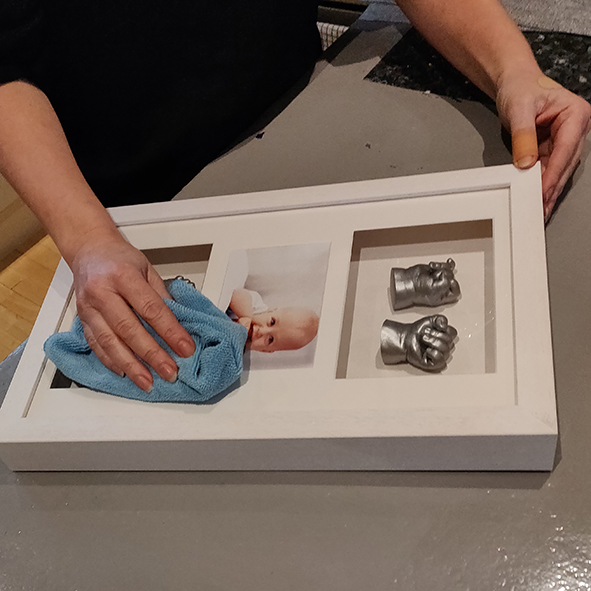
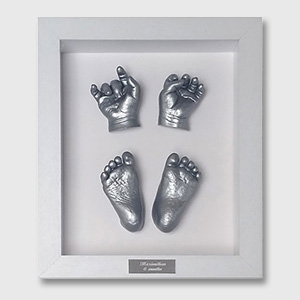
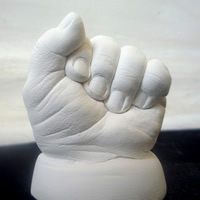
Baby casting creates incredibly detailed 3D plaster casts. We provide detailed instructions with over 100 step-by-step images and plenty of materials for you to achieve a good result. However, baby casting does take practice. We recommend making just one cast from start to finish so you can familiarise yourself with the materials and learn from any mistakes you make.
When to make your casts
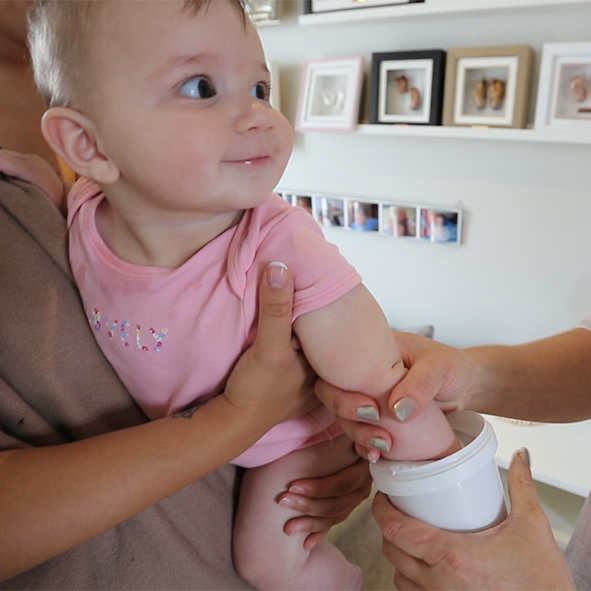
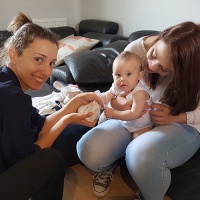
Casts can be made from birth upwards. Newborns should be well and not premature. Choose a good time to make your casts, preferably when your baby is due a feed but not a nap or distracted by another familiar person. Distracting them with an app on your phone or by feeding them is often a good trick especially if they are moving their hands and feet a lot. It is not advisable to make a cast when your baby is unwell, tired, unsettled after jabs or needs a nappy change. Some newborns can sleep right through having their moulds taken but in general an older baby will wake. If your baby has dry skin, apply some baby oil. If your baby has eczema or any other skin condition, please seek advice from a medical professional before proceeding. You will need to do a patch test.
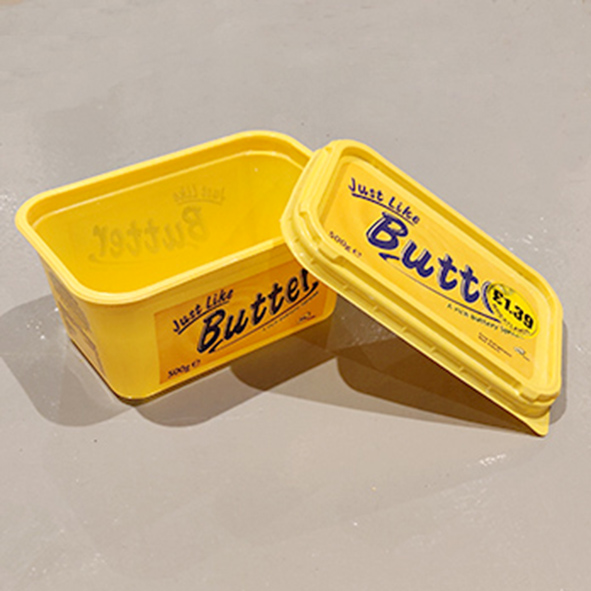
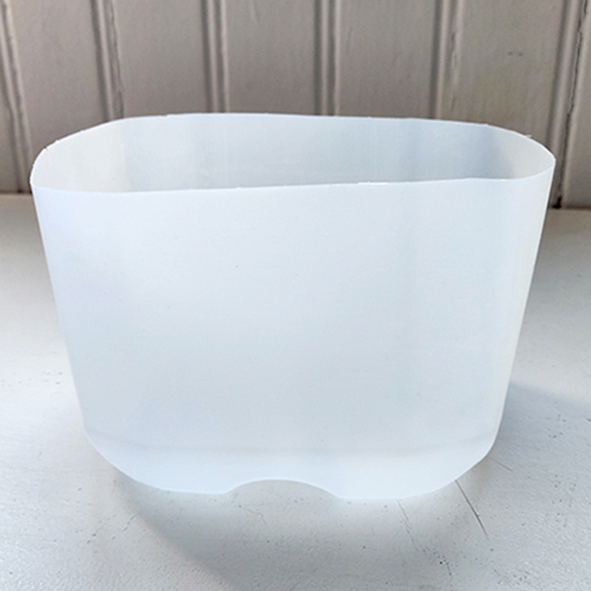
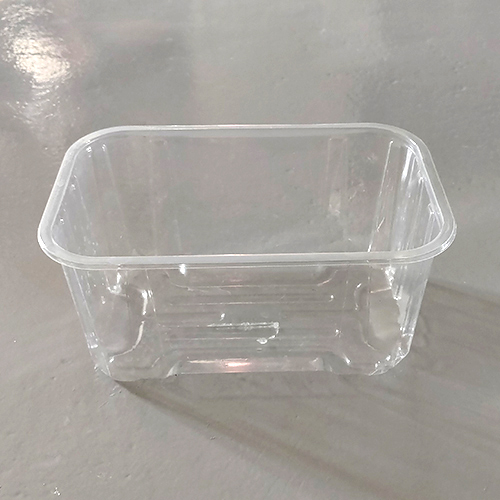
Pots to make the moulds in
(we no longer use bags)
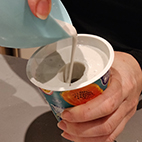
You will need to provide the pots to make the moulds in. These can be common household food containers such as plastic milk bottles, soup, yoghurt, grape or spreadable butter pots.

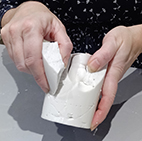
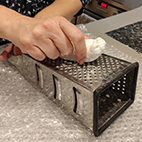
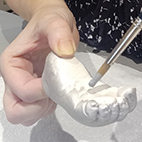
Steps to follow: